I stripped the whole thing down and started with a blank slate.
The frame was stained with some we had left over from the columns. I almost always end up mixing my own stain. I love dark wood, but the dark stains always seem dull to me. I like to add a little red stain to them to give them a little more depth and it just makes the wood a little brighter. I put probably five or six coats of polyurethane on it after the stain. I came in every day and would see a spot that I missed and put on another coat of poly or sand it a little and put on another coat. I kept going and going and finally just had to make myself stop.
I love the way the frame turned out. The seats were the next thing to be redone; the old ones were completely rotten and had to be replaced. I used the old seat as a template for the new wood seats and upgraded to a much sturdier wood. You know, so the settee could actually be used for sitting.
I cut foam to fit and started upholstering.
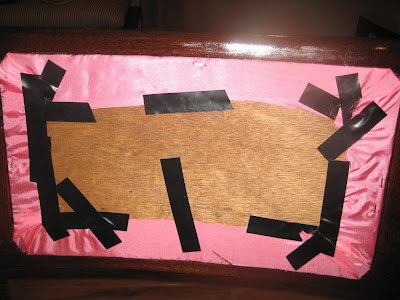
The chair backs were so thin I could not use staples so I had to make do with tape. At least no one will see this part!
The settee is going to be a blush pink dupioni silk, I wanted it to be really bright and fun at first. However, as you can see from the above picture my first choice looked like it belonged in a Barbie dream house.
The old fabric was falling apart when I took it off so I couldn't use much of it as a guide.
I started with the back and just measured out the fabric a few inches larger than the opening and laid it over the foam.
Staple one of the short sides first.
Then pull tight and staple down the other short end. Then I stapled down one long side and pulled the fabric taut while stapling down the last edge.
I used and Exacto knife to trim the fabric along the edges.
I followed the same technique for the bottom cushions as well.
This is the reason Erin HATES craft projects in the living room. She came home to this disaster.
Hehe oops. On the bright side though, I did clean it all up and she (usually) loves the end result.


No comments:
Post a Comment