
New house = new furniture, I wish at least. My headboard since college has been a not-so-lovely bookshelf/headboard combo. I donated mine before taking a picture, but it was very similar to this.
Now I love some good midcentury, but this just wasn't cutting it. Mine also had the added bonus of a spray painted gold h on the side.
I wanted an upholstered headboard, and my nonexistent budget meant I would have to make it.
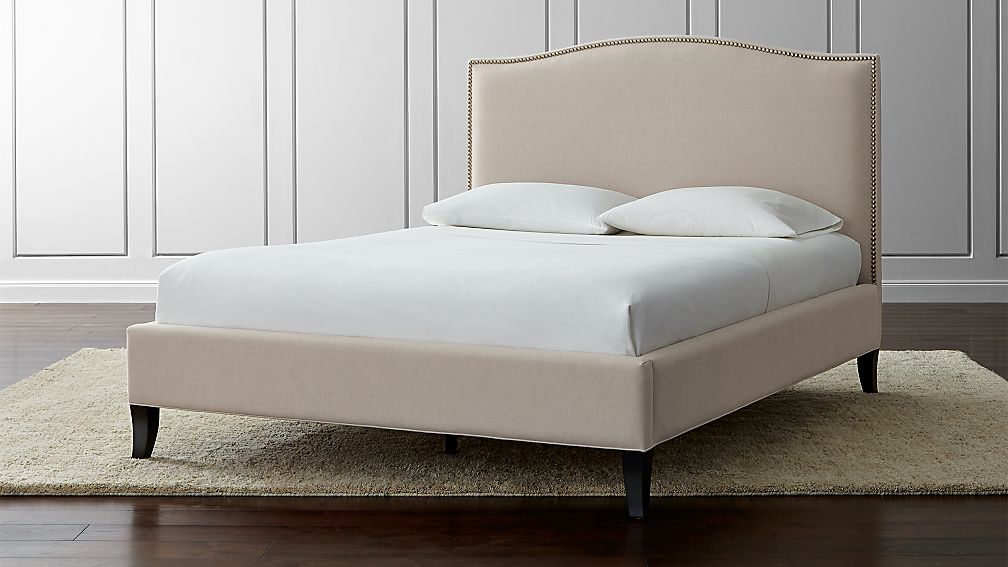
I of course love the ever popular Colette, but decided to add a slight wing more like this picture


You will need:
plywood (varies depending on bed size)
jigsaw
string
batting
memory foam
3-4 yards of fabric
staples
staple gun


I am all right brain and was ready to just free hand the shape, but my smart Daddy came up with a much better idea. We put a nail at the bottom of the headboard in the middle and attached a string. Then tied a loop in the other end of the string. The string serves as a giant compass so you get an even arch. You can adjust the amount of arch by changing the string length or moving the nail.
One point for the left brainers!
My advice is to go slightly more dramatic with the arch. Once you add batting and fabric, the lines are really softened.


We then added support to the back with 2x4s and to give it more height.


The back should be upholstered first.
Then the sides.
Tipper approves!

