Monday, October 26, 2015

kitchen details

It is finally done!  Hard to believe this is the same kitchen.


This project was so stretched out that I lost track of the amount along the way, but I think we redid our entire kitchen for under $1,000. 


I ordered all the hardware from Ebay.  It took a little time wading through all the *unique* items, but was well worth it.  I got exactly what I wanted for about half the price.

We ordered our countertops through Mississippi Cabinet Company and we could not have been more pleased.  We looked several other places but they were way less and it was the exact same counter top at Lowe's.  I would have loved real granite, but it just wasn't in the budget right now.  Not to mention all the baking I do.  One food color spill and that beautiful granite would have been ruined.

Now for the backsplash, Dad picked up some fab subway tile for us at Dirt Cheap.  I love love loved it. I am all about a subway tile and the aqua color was perfect for our house!

Overall I am thrilled with the results!


Monday, February 16, 2015

The Kitchen...dun dun dun

Oh the kitchen and it's 90's fabulous golden oak cabinets. The beautiful border and cream hardware. One word: yuck! We kept waiting and delaying starting on it, we had finished all the major projects, except for the kitchen.


Yikes!!  It was soo bad!  I really wanted it done, but I was dreading painting the cabinets.  Replacing them was wayyy out of the budget.  I really wanted a grey green color on the cabinets


But Sissy wasn't diggin' it and to be honest it didn't really go with the rest of the house. We had settled on grey bottom cabinets and white on the top.  So we bought the paint and then proceeded to leave it in the closet for the next 6 months.  Sis went on a road trip to Idaho, so out of boredom I decided to just go for it.
 Since we have oak cabinets we needed to use something to help fill the grain. My Dad happened to have a bucket of Sherwin Williams Natural Filler, so we used that.  I just painted on a thin layer, let it dry, and then sanded like a mad woman. If you have an open grain wood this really is an important step. The grain was very visible without the filler.

 After the filler, comes the primer. I rolled on 2 coats on oil based Zinsers. Then you sand. We rolled on 3-4 coats of Snowbound. This process took FOR.E.VER. Paint the front let it dry, flip paint the back let it dry, and over and over and over again. Sounding like fun yet?
 I sanded them again really well and took them to my dad for the final coat. He sprayed on the final coat and then I covered them with a thin coat of polyacrylic. 
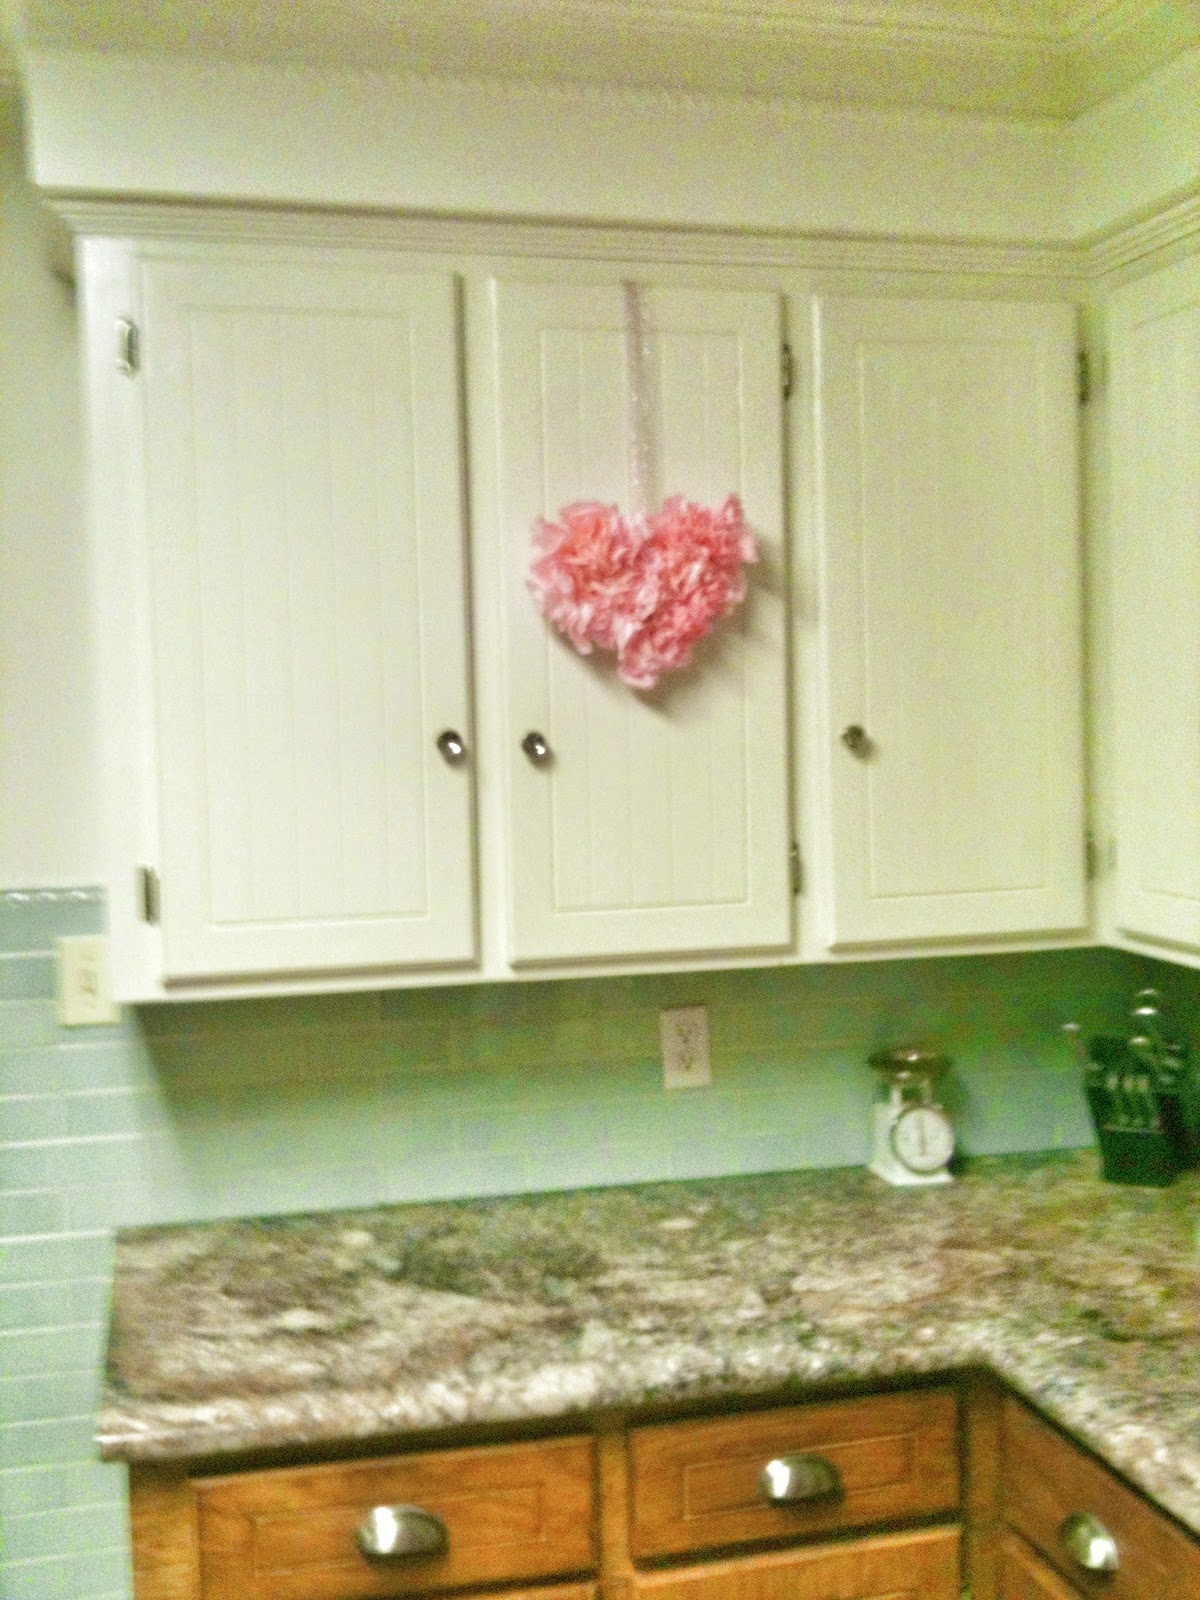
and tada we have white cabinets!
I did the uppers first to see what we thought and how the painting would work.  I decided the kitchen needed a little warmth so I decided to attempt restaining the wood on the bottom cabinets.

The restaining was definitely way easier than painting.  Apparently this whole process traumatized me so much that I didn't even take pictures.  But here's an in between shot to hold you over!


It's already so much better!


Friday, February 13, 2015

Last Minute Valentine's Day Decor

We had our monthly Bunko party at our house last night.  We had a thousand changes in plan which led to a last minute theme change.  Sissy and I decided to do a "pink out," everyone wore pink and we were going to decorate all in pink.  The only problem is, we had been planning on a fiesta theme until a few days ago.  Nothing like the last minute and late night crafting! 

To go with our pink them I decided to whip up a few of these cute hearts.

I was half way into the process before I realized I hadn't taken pictures.  I cut out hearts out of cardboard first.  Then I dipped the tips of coffee filters into water with food coloring.  I would have let them air dry, but I was short on time so I stuck them in the oven on the lowest setting. (The lowest mine would go was 170.)


 Then just twist the middle of the coffee filter to make a "flower."


I used a hole puncher to make holes in my cardboard heart.  I made a ton of holes along the edges, but I ended up only using about half of the holes.


 Then start putting your filter flowers into the holes until it is all covered.  And you have simple, cheap, and most importantly super cute Valentine's decorations!
One down, three to go!  I am going to attempt this with letters this weekend.  The filter flowers look similar to carnations, so I thought it might make cute decor for wedding or baby showers.  I'll let you know how it goes!  What do you think, love it or leave it?

Wednesday, February 11, 2015

More Progress

I found a few iPhone pics of the tile laying in progress.  I eventually learned the key to laying this pattern is to get a lot of tile on the wall first and then space it.  (My daddy may or may not have said that in the first 5 minutes and approximately 2 hours later I started listening! hehe oops)

Blurry photos are better than no photos... Right??


It's a mess now, but it is going to look great!  Especially once Daddy finishes the "window" above the sink.

Monday, February 9, 2015

Belmont Phase 1 Complete

Here goes...it's take three at blogging!  The last year has been insane with school and work and a million other things.  This year is going to be just as nuts since now I get to help plan a wedding!!  My sissy sue is getting married!!!!  I just finished my class yesterday and I SWORE to myself last week that I would only work on one project at a time.  That all went out the window as soon as I got home.  I started 3 yesterday, oops...  I like to keep busy so it's all good :)  Since my last post was about the inspiration for the Belmont house, I thought I would share some progress shots. 
 
This is the kitchen around Christmas time, since then we have *finally* put up the backsplash.  I can't wait to get some pics of it and share them.  I love laying tile (I know I'm weird), I think it is because it makes such a huge impact. 


Daddy is slowly tackling the outside.  The toothpick columns are gone and a wrought iron rail is on it's way!  I can't wait to get everything finished.  We were way overdue for an update!