Sunday, September 1, 2013

Rustic Wood Cake Stand


It seems like wedding season has changed in recent years from summer to early fall.  My facebook feed has been filled lately with wedding pictures and updates.  To {attempt to} get in the spirit of things, I thought I would share a wedding cake stand I did a few months ago.  This is only a semi tutorial because one of the steps requires having a super awesome dad cut things for you.  Anywhoo...  This was an inspiration photo sent to me by a bride.


We both loved the cake stand and I wanted something similar.  They are really hard to find though and a little pricey, so of course I decided to make my own.  I had my dad cut the wood for me, because he is awesome like that.  He said he just used a chainsaw to cut thin wood cookies {yes that is really what they are called} and then a small tree for the pedestal. 

I was in a hurry to use them the first time so I took a not recommended short cut here.  What you should do here, is wrap them in paper bags or put them in the freezer for several weeks to dry slowly.  What I did was put them in the oven on a low temp to kill all the buggies and dry the wood a bit.  Not recommended because the cookies definitely cracked.  If you dry them slowly the wood will not crack.
 
 
So pretend like you have nice uncracked wood cookies here.  I sanded down both sides of each with a belt sander.


Then I stacked the pieces in the order I wanted them.
 

  I drilled a hole through the cookie and the pedestal at the same time.  Then through the bottom of the next pedestal.

 
I cut three inch sections of a dowel rod and used that to connect the middle tiers.  The bottom and top tier I connected with screws for extra stability.  The dowel rods in the middle allows me to disassemble it for transportation and rearrange the cookies to add or take away layers.
 
Then just clean it really well and you are finished!

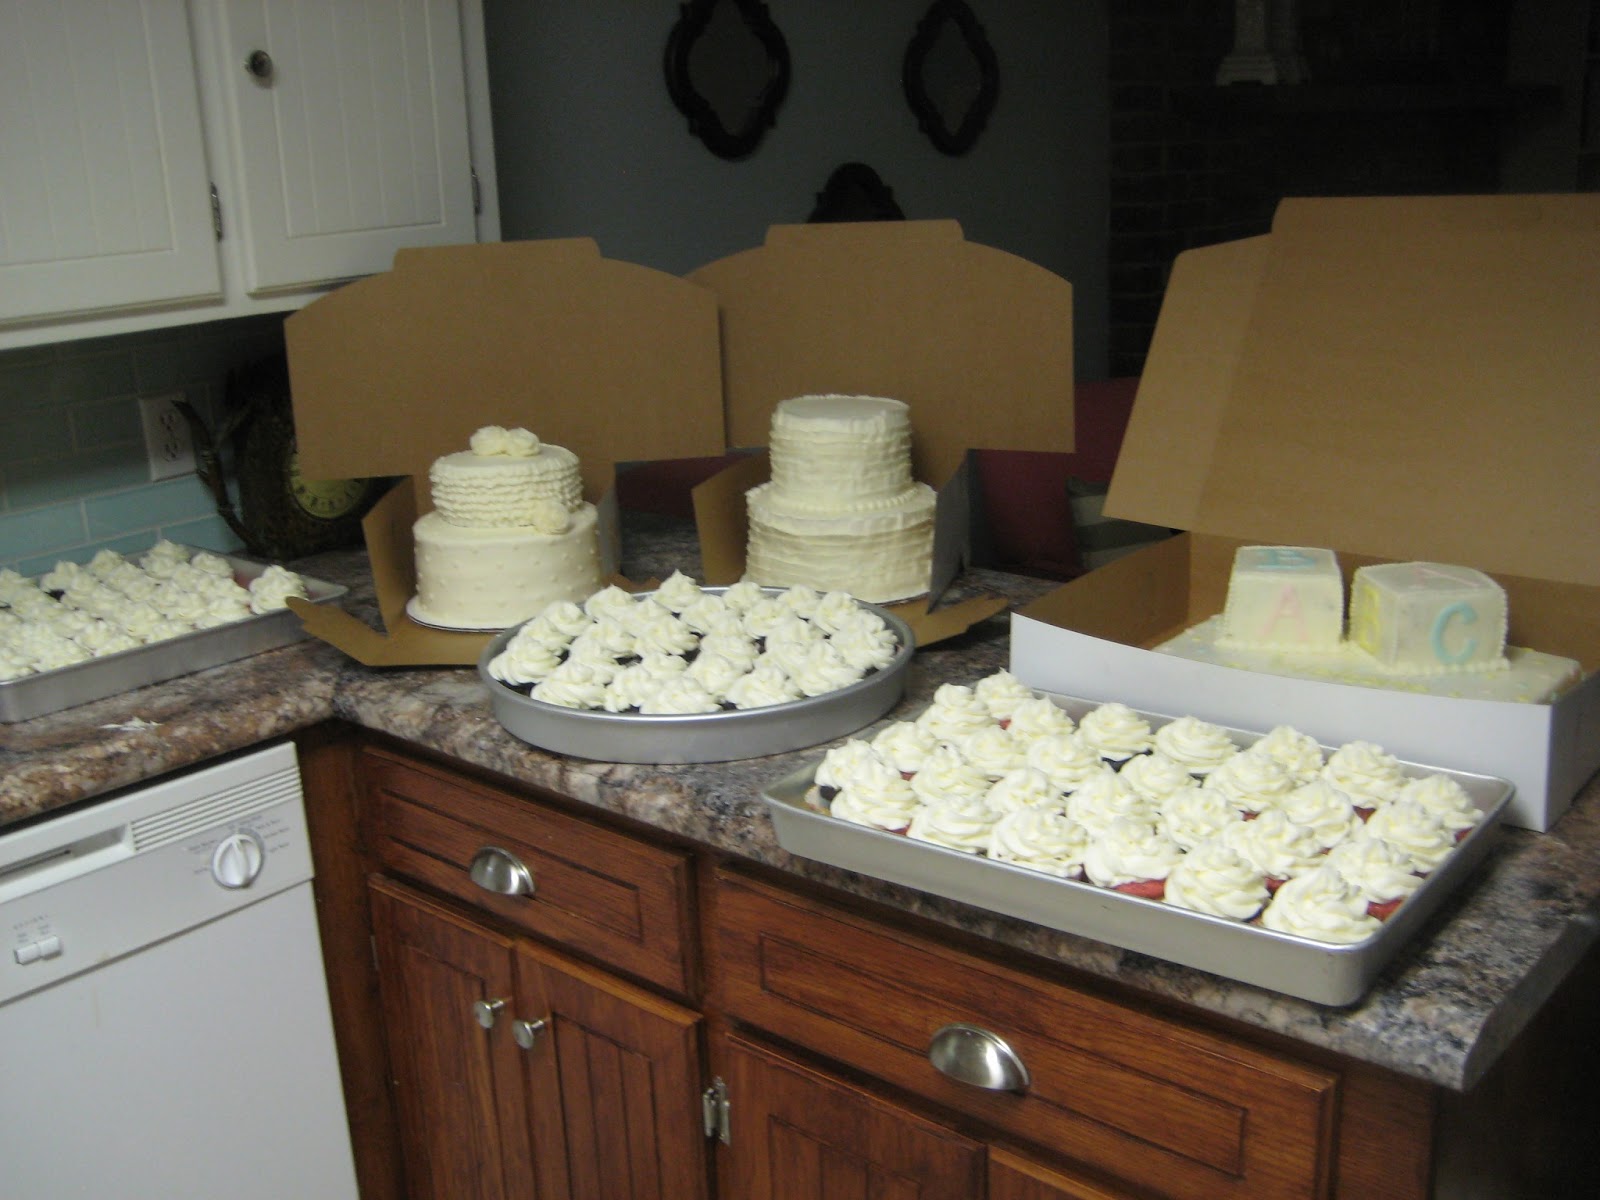
I love the way it turned out.  The look was perfect for the feel of the wedding.  This was one of my favorite cakes and weddings to date.  I love when weddings {and interiors} completely reflect the couple's personalities.


Saturday, August 24, 2013

The saga continues...

I have to admit once I tracked Duncan down, he sat neglected in my garage for almost a year.  I was just overwhelmed with the thought of upholstering an entire couch.  So I just put it off, and put it off, and put it off again.  Then when I finally decided to start, I realized I was going to need at least ten yards of good fabric.  I realize that $35 a yard is not that bad for upholstery fabric, but I like a bargain.  I loved this fabric from Dwell Studio in the toffee colorway and found it at my favorite fabric store.  You know I have their sale schedule memorized by heart so I just had to be patient.  I ended up getting it 40% off.  Woop whoop!! 


And then I got to work, removing a million kazillion staples.  I really have no set method to my madness.  I make sure to document every step with pictures and take notes.


This couch once I got it apart was even more work than I had expected.  The springs were gone in most of them and a lot of the webbing was rotted as well. 


At this point, I gave up for a week until Erin had a fit and said it had to be finished and out of the living room.  She loves living with me...
I used this tutorial as a guide for the webbing and spring tying.  My poor fingers were so sore by the end!

Then it was on to the upholstering.  I used the removed fabric as a pattern for the new fabric and started putting it back together.  The cushions once I finished them looked a little flat, so I made down inserts to go on the top.  I really wanted down cushions, but it was just way to expensive and messy.  Those stupid feathers get everywhere!

And the back view.
 
I do kinda love it.  This was a live and learn project for me.  In retrospect, I would have hired out the spring tying and webbing it was a pain and it's not super comfy since I was a first timer.  And I probably would have chosen a bright solid linen fabric.  I wanted something graphic, but by the time I finished I was already a little tired of it.  Since I have been away for a few months though looking at pictures it looks fresh again, winner!
 
Before and after


Wednesday, August 21, 2013

Design Inspiration

I was so pumped yesterday  I got to help a friend paint!  I know most people are not thrilled by the idea of painting, but that made my day.  I have been dying to make something since we took a trip to Masatepe, where they make all the handmade souvenirs and furniture.  I saw so many people working with power tools; it took all  I had not to take them out of their hands and get to work!
There is just something so rewarding to me about doing physical work. 

I was ready to get back to some house design stuff after that, so I pulled together a couple inspiration boards for my mom's house.  She already purchased the couch I used and they installed the fire place.  Hopefully I will get pictures soon!

The first one is a little brighter and more casual.


The second option is a little more country and probably more suited to my parent's taste.


Although lets be real here, they are never going to go for either one because my daddy needs a
 La-Z-Boy.  I have no idea where my design infatuation came from!

Thursday, August 8, 2013

Nicaragua

I have been terrible about blogging since I have been in Nicaragua.  All my usual home improvement, craft projects have been the last thing on my mind lately.  I will admit I do miss my projects just a little bit.  Since I have been here this year, I have seen a lot more tourists than in years past.  I think the rest of the world is catching up to what we already knew, Nicaragua is amazing.  It has been all over travel lists this year especially on "best bang for your buck" type lists.  So here are my top ten reasons to visit Nicaragua.

10. It is cheap.  You can get a room at a nice hotel/hostel in the middle of the city WITH air  conditioning for about $17 per night and a good meal for around $2

9. Fantastic food

8. Rainforest zip line


7. Amazingly friendly people


6. Beautiful beaches

5. Still non-touristy

4. Telica night hike

3. Volcano surfing - where else in the world can you do that


2. Architecture


1. Incredible beauty

Friday, July 26, 2013

Friday, June 21, 2013

I'm famous!

Ok, maybe not quite famous, but I'm counting it.  A tiny article counts in my book!  I only have a few pictures stolen from Facebook since I'm not in the States, but I am so excited to share this!


Now for a quick how to.  I found a nice solid wood headboard at the thrift store for about $20.  I measured the footboard and cut it in half.
 
 
My foot board was a little shorter than I wanted it so I cut off the original legs and added store bought table legs for extra height.
 
 
I used dowel rods and wood glue to connect the headboard and footboard.  Erin helped me with this step, math is not my forte.


For the seat I used 1x3 slats and rested them on the top ledge of the footboard and used corner brackets to attach them.  Then I just sanded the whole thing and spray painted it.  I used Valspar spray paint which is the bomb diggity.  It covers so quickly and doesn't run.
 
For the cushion I followed this tutorial and made quick pillows.
 
Ta Da!


 I looooove the way it turned out!

P.S. I had planned to update regularly, but Nicaraguan electricity has other plans so I will update as I can.

Monday, May 27, 2013

Busy-ness

I had a every intention of getting back to a semi regular blogging schedule the past few weeks and as you can tell it just hasn't happened.  I have a million excuses legitimate reasons for my absence though.

Exhibit A


Exhibit B
Fourth job-  yes I have officially lost my mind 


and Exhibit C
 
I have been some what attempting to pack and finish up a million little things before Nicaragua.  Somehow this trip has completely snuck up on me!
 
Next week I will be in Nicaragua...