Showing posts with label upholstery. Show all posts

Wednesday, March 27, 2013

Funky Chair Makeover

I feel like I haven't had any good upholstery projects in a while.  I don't know why but I kind of love doing them.  It keeps my hands busy and I feel so accomplished when I finish it.  I haven't shared this one before, but it is one of my favorite upholstery projects I've done so far.

I found this floral chair at the Salvation Army forever ago.  The fabric had definitely seen better days, but the shape of it was really cute and petite.

This was maybe my second or third project so I was a little nervous.  But I just followed my tried and true method; it's very complex and complicated.  Put everything back the way you took it off.  I know mind blowing.

I actually did alter this one a little, I chose to tuft the back in a smaller pattern and it originally had a skirt that I left off.


I don't have a 100% completed pic of it, I added pink piping to the bottom as well.  I love the way it turned out.  Perfect for two little girls!


Linked to Whipperberry


Thursday, January 17, 2013

Armchair Afters

I would love to share some kitchen afters with you, but it has been slow going around here.  I think it might have something to do with the fact that I start ten new projects before finishing the first one.  My left brain sister and Dad can not comprehend this at all.  I maintain that there is a method to my madness, but I will admit lately there has been a whole lot more madness than method!  I did however finish the chairs I was upholstering last week.


I think it is a major improvement from the stripe.  Blech


These chairs were the hardest to upholster I've done so far.  They had so many staples I had blisters by the time I was done.  All of these were from ONE CHAIR plus three tacking strips!


I thought it was kind of cool, someone tagged the bottom of the chair

 
My upholstery job is no where near perfect, but I'm still learning.  I love the shot of color it gives our little breakfast nook.  I need a little pep on these rainy days.


Linked to Funky Junk InterTiors

Thursday, January 10, 2013

Aunt Mertice's diner chair

Since I'm all about upholstering this week, I am sharing another upholstery project that was done over Christmas break.  I found an old diner looking chair in a shed at my aunt's house when we had a yard sale and thought it had a kinda cute shape.  It was all kinds of nasty though.


 And it was super rusty, so of course I packed it up and took it home with me. 


 I took it all apart and sanded off as much rust as possible.


It can be our little secret that I took it apart in the house.  Oops :)  not the brightest idea I've ever had, but in my defense it was really cold out.  Erin obviously was not home that day or else I would have been relegated to the garage.

 I took pictures of all the details so I would remember how to put it back together.


Then I used the fabric I took off as a pattern for the new fabric and cut new seats.


And started putting it back together. 


Tipper thought the new chair back was pretty comfy.
and yes she is sleeping on a future project.  I think I may need a twelve step program.

 I sprayed the frame with a few coats of spray paint.  In hindsight, a primer would have been smart to use.  And I have a new chair! 


Linked  to


Tuesday, December 18, 2012

Finally...


She's come a long way baby!
Jus noticed Tipper's bone in the floor,  oops :)


I love seeing how different pieces are transformed and giving them a new life. This one was definitely a lot of work stripping the old varnish and I am so glad to be done with it! Although I definitely need to add casters. It's a little awkward when you have people over for dinner and to scoot up to the table have to count 1-2-3 scoot and again to get up. We're really sophisticated at my house :)


Tuesday, December 4, 2012

Settee


You may remember this old settee from here and here.

I stripped the whole thing down and started with a blank slate.


The frame was stained with some we had left over from the columns.  I almost always end up mixing my own stain.  I love dark wood, but the dark stains always seem dull to me.  I like to add a little red stain to them to give them a little more depth and it just makes the wood a little brighter.  I put probably five or six coats of polyurethane on it after the stain.  I came in every day and would see a spot that I missed and put on another coat of poly or sand it a little and put on another coat.  I kept going and going and finally just had to make myself stop.


I love the way the frame turned out.  The seats were the next thing to be redone; the old ones were completely rotten and had to be replaced.  I used the old seat as a template for the new wood seats and upgraded to a much sturdier wood.  You know, so the settee could actually be used for sitting.


I cut foam to fit and started upholstering.


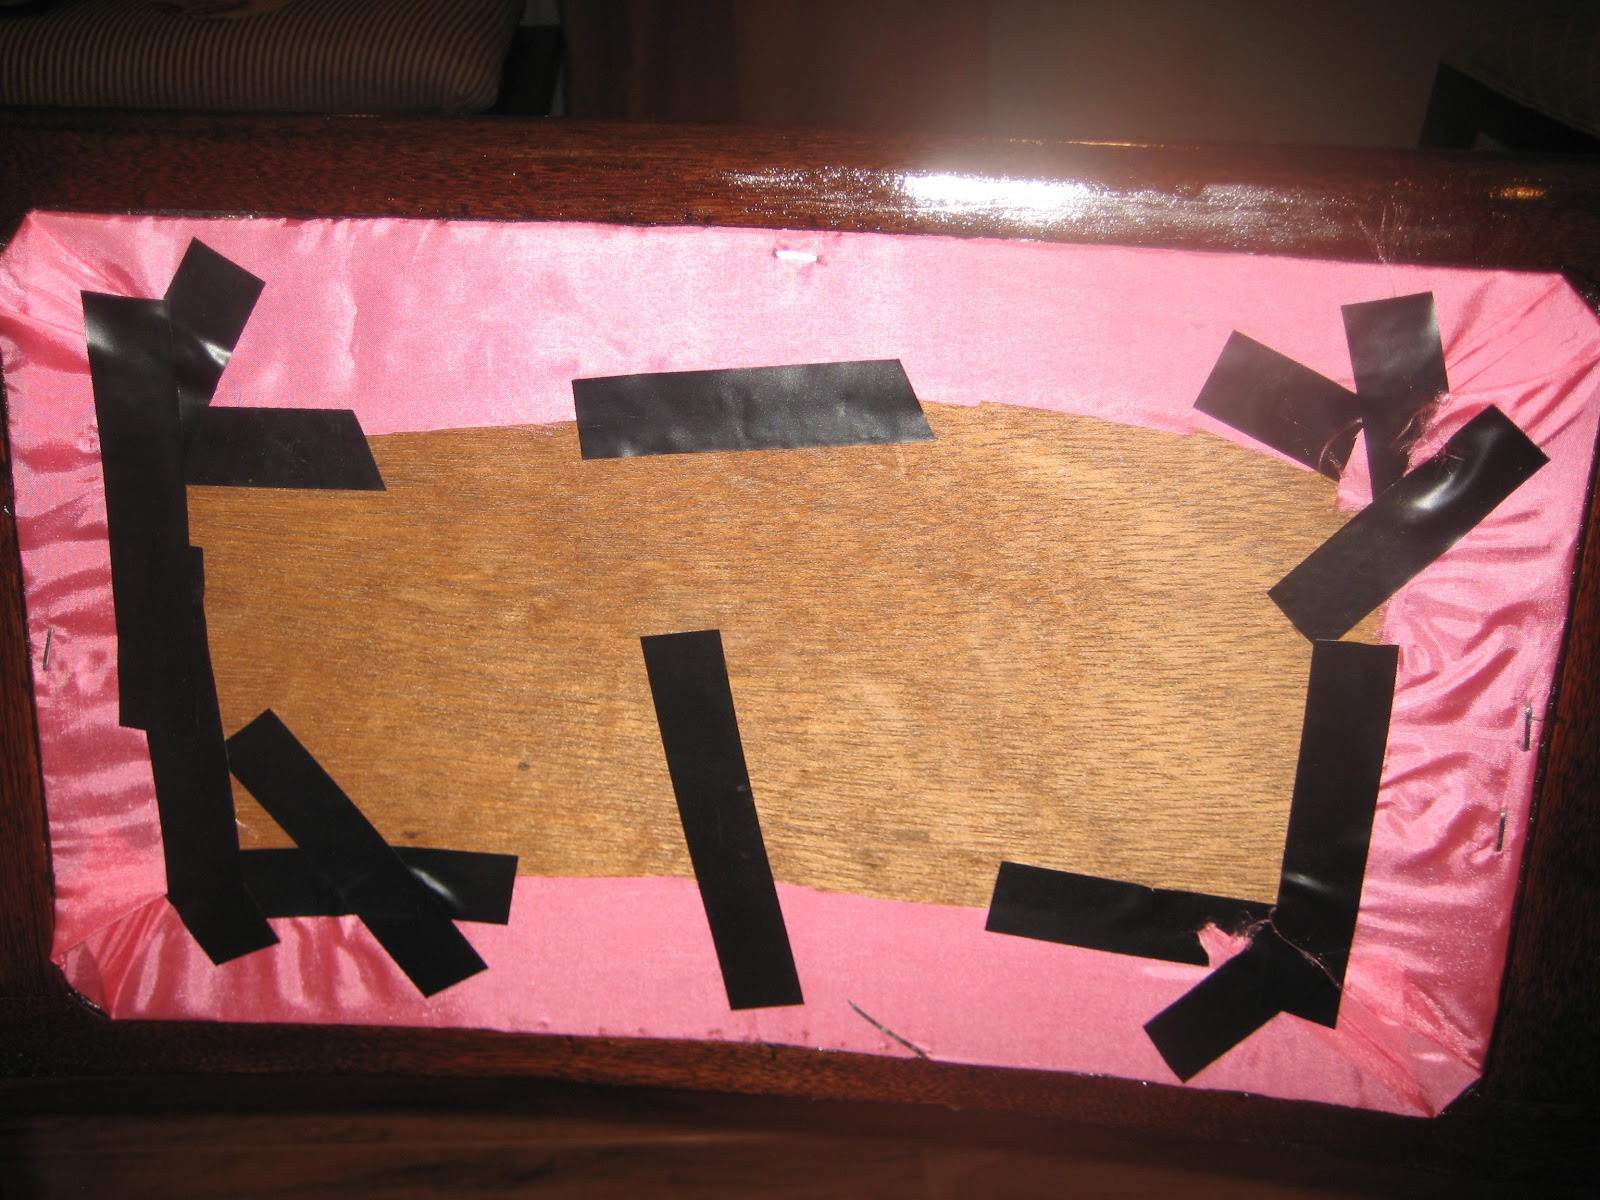
The chair backs were so thin I could not use staples so I had to make do with tape.  At least no one will see this part!

 The settee is going to be a blush pink dupioni silk, I wanted it to be really bright and fun at first.  However, as you can see from the above picture my first choice looked like it belonged in a Barbie dream house. 

The old fabric was falling apart when I took it off so I couldn't use much of it as a guide. 
I started with the back and just measured out the fabric a few inches larger than the opening and laid it over the foam.


Staple one of the short sides first.
  
 
Then pull tight and staple down the other short end.  Then I stapled down one long side and pulled the fabric taut while stapling down the last edge.
 
 
I used and Exacto knife to trim the fabric along the edges.
I followed the same technique for the bottom cushions as well.

This is the reason Erin HATES craft projects in the living room.  She came home to this disaster.

 
Hehe oops.  On the bright side though, I did clean it all up and she (usually) loves the end result.

Thursday, September 20, 2012

Dining room chairs

Erin and I don't have much furniture, and a lot of what we do have is just a hodge podge.  Most of it is left over from our college days and the apartment.  I told you my mom came to the rescue and loaned us her dining room set here.  What you don't know is that those chairs had a horrendous 70's orange tweed.  It had to go.  
 .
 
 
My mom alwasy meant to recover them but she never got around to it.  Upholstery is a little scary to me still, but these were easy peasy.  It only took maybe ten minutes per chair.  I just unscrewed the bottom, wrapped the fabric across the top folding it like you would a present,
stapled it and screwed them back in place.
 
This coordinating stripe is much better.

 
You can check out some great dining room ideas here on Top Reveal.